In home care, hospital wards, and nursing homes, the Patient Lift Transfer Chair has become an indispensable assistive device for caregivers and their families.
Its core function is to help patients with limited mobility or who are bedridden safely get in and out of bed, use the toilet, bathe, or be transferred.
However, many first-time users often make mistakes during operation:
• Incorrect height adjustment causing patient instability;
• Failure to lock the brake causing the chair to slip;
• Neglecting to use the safety belt during transfer, leading to risks;
• Improper height adjustment causing patient discomfort.
Therefore, learning to operate the Patient Lift Transfer Chair correctly, safely, and according to regulations not only ensures patient comfort and safety but also effectively reduces the physical burden on caregivers.
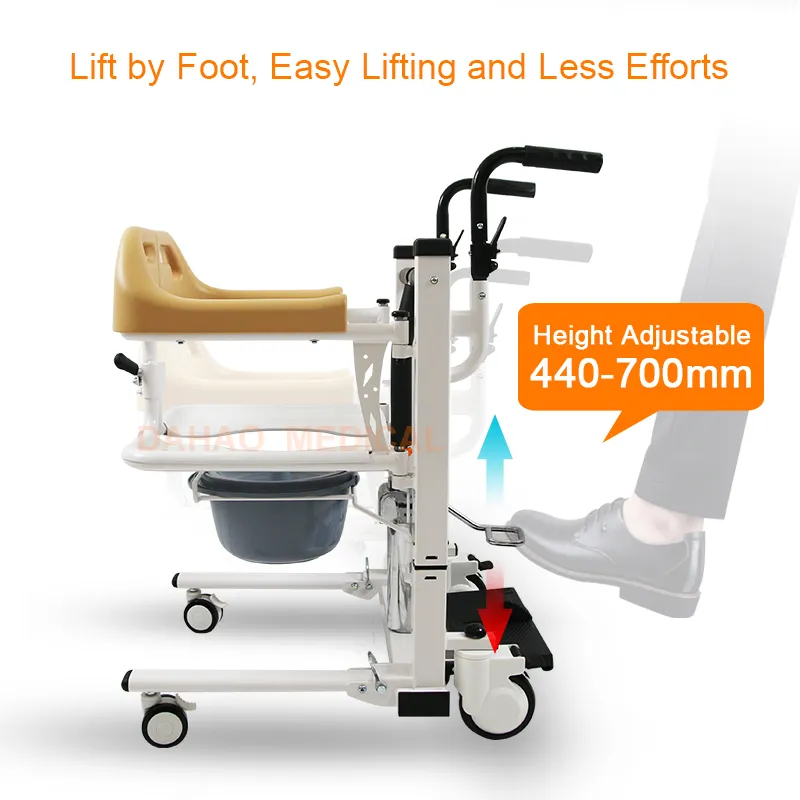
What is the design principle of the Patient Lift Transfer Chair?
The Patient Lift Transfer Chair is a medical care device that integrates lifting, transfer, and mobility.
It uses mechanical structures or electric systems to allow patients to move in multiple directions, such as from bed to chair, from chair to bed, and from chair to commode.
Its design goal is:
"To make the nursing process safer, easier, and more efficient."
A standard Patient Lift Transfer Chair typically consists of the following components:
• Lifting mechanism (hydraulic handle or electric push rod)
• Main frame (steel or aluminum alloy structure)
• Seat and backrest (removable or separate)
• Safety lock and securing straps (to prevent slippage)
• Four-wheel system (with casters and brakes)
• Armrests, footrests, and toilet seat openings
These components work together to achieve three main functions: stable support, smooth lifting, and safe transfer.
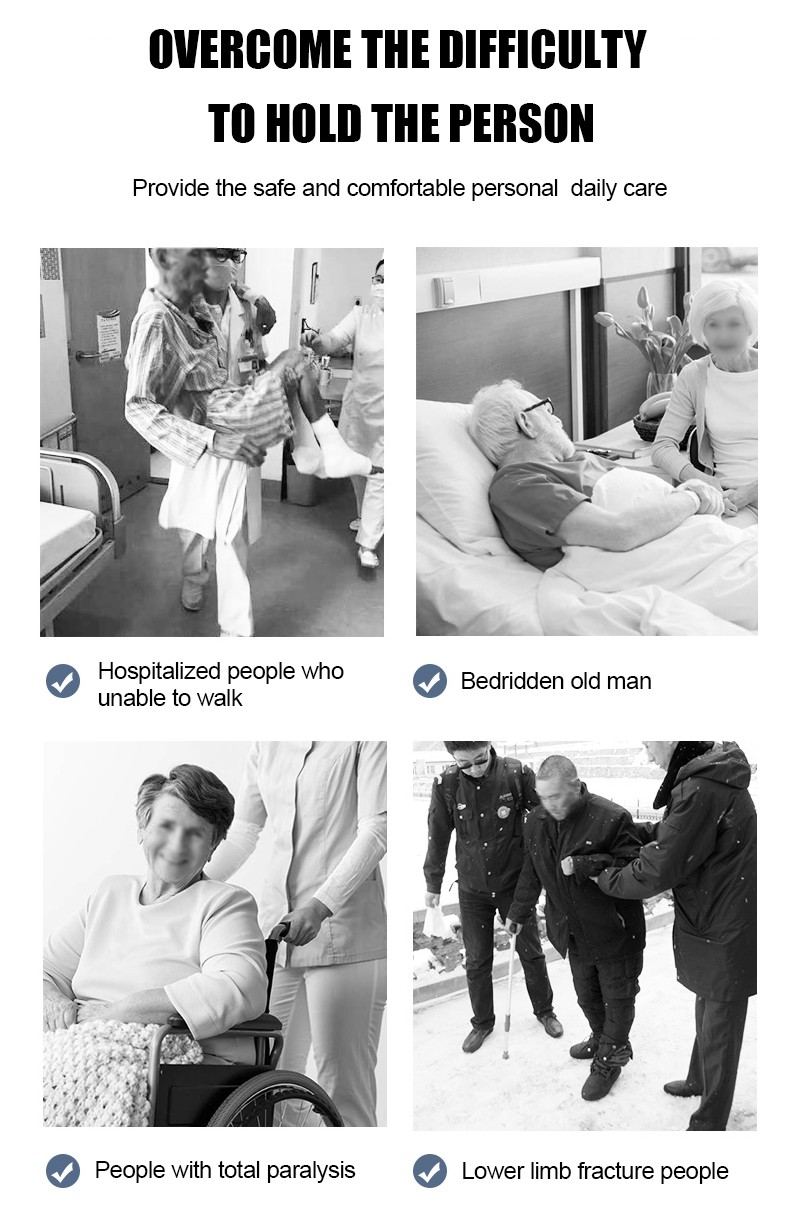
What preparations are needed before operating a Patient Lift Transfer Chair?
Correct operation begins with thorough preparation. Before each use of the Patient Lift Transfer Chair, complete the following steps:
1. Check Equipment Condition
• Ensure the chair is not loose or deformed;
• Check that the wheels turn smoothly and the brakes are effective;
• Check that the lifting handle or electric buttons are responsive;
• Ensure the seat belt and buckle are intact.
2. Environmental Check
• Ensure the floor is level, dry, and non-slip;
• Ensure the transfer path is free of obstructions;
• If transferring to the bedside, maintain a suitable distance between the bed and the chair (approximately 5–10 cm).
3. Patient Status Confirmation
• Ensure the patient is awake and cooperative;
• Inquire about the patient's physical condition to avoid forcibly transferring them after surgery or when in pain;
• If the patient cannot sit up independently, two people should assist in the operation.
4. Operator Preparation
• Wear non-slip shoes;
• Keep hands dry to avoid slipping during operation;
• If it is an electric model, check that the battery is fully charged beforehand.
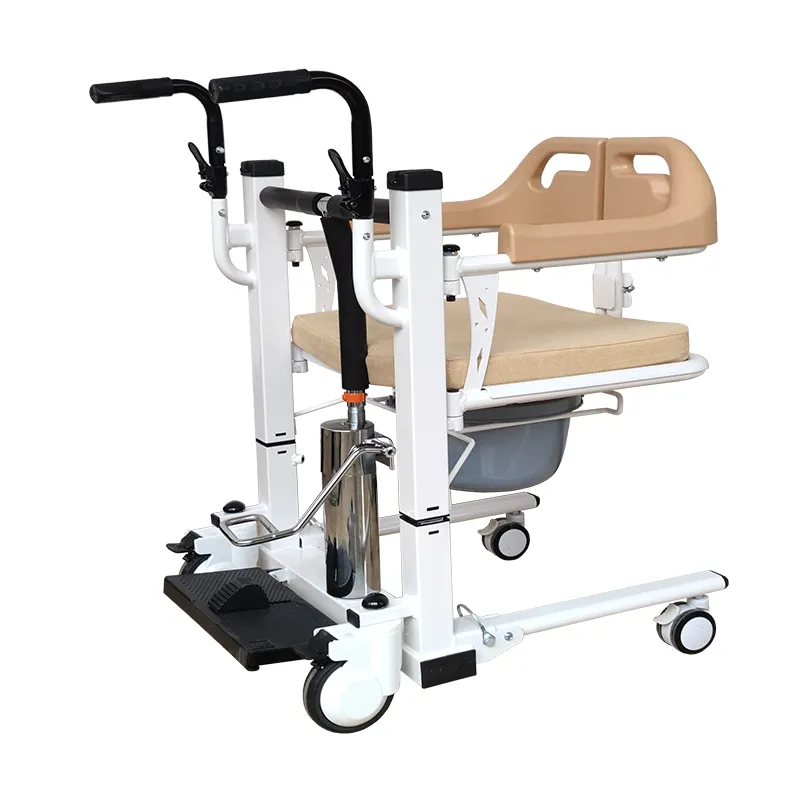
When using a Patient Lift Transfer Chair for the first time, where should a beginner begin?
1. Adjusting the Height of the Transfer Chair
First, move the Patient Lift Transfer Chair next to the bed.
Depending on the bed's height, raise the chair to bed level using manual hydraulic or electric buttons.
This is crucial; the correct height reduces the angle of displacement during patient transfer, thus improving safety.
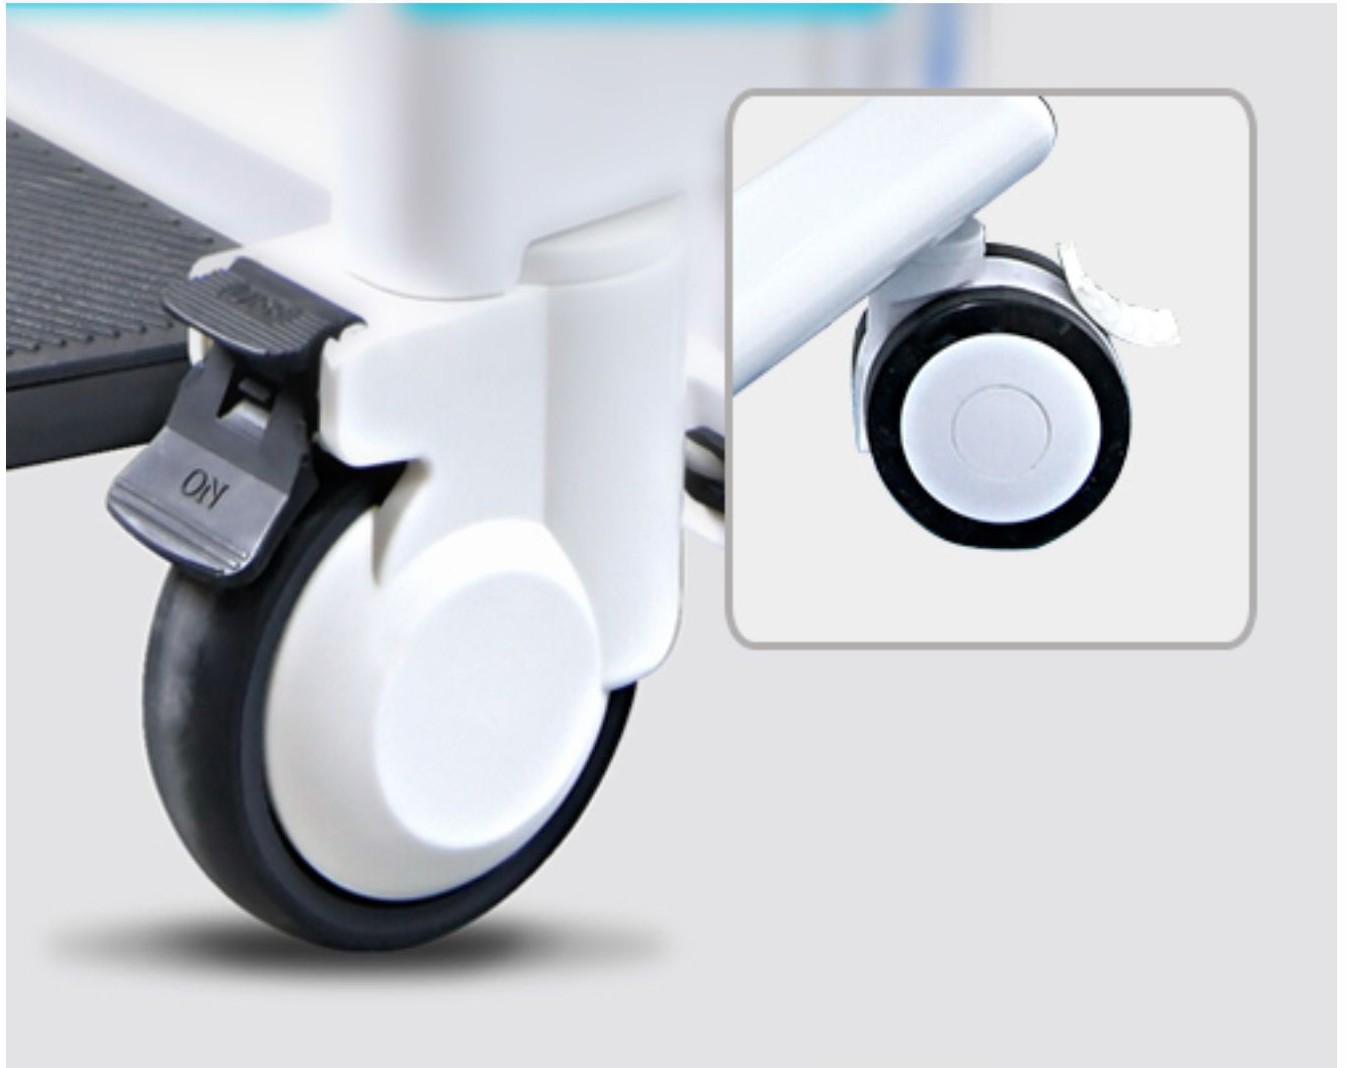
2. Locking the Wheels
Before transferring, ensure all four wheels are locked to prevent the chair from sliding during the transfer.
3. Opening the Seat or Separate Structure
Separate the seat to create an opening, allowing the patient to slide from the bed into the chair.
Some Patient Lift Transfer Chairs feature a removable seat; in this case, simply remove the middle seat cushion.
4. Assist the patient into seat
• Support the patient's shoulders and lower back, and slowly move them to the center of the chair;
• Ensure the buttocks are fully against the seat and the body's center of gravity is centered;
• Secure the seatbelt and adjust the backrest angle to ensure the patient remains in a comfortable sitting position.
5. Close the seat and safety lock
Close the seat and lock the safety buckle to ensure the patient cannot slip off.
Check the seatbelt tension; avoid it being too tight or too loose.
6. Release the brake and move smoothly
After confirming the patient is seated securely and the safety lock is engaged, release the brake and slowly push the chair forward.
Avoid sharp turns, rapid acceleration, or excessive pushing or pulling during movement; ensure a smooth ride.
How to safely use the height adjustment function of the Patient Lift Transfer Chair?
1. Manual hydraulic height adjustment
Manual Patient Lift Transfer Chairs are typically equipped with a hydraulic control lever or foot pump.
When operating, slowly press the control lever to gradually raise the chair; to lower it, gently pull the pressure relief valve to allow the seat to descend smoothly.
Note:
• Do not deflate all the air at once, as this may cause discomfort to the patient due to rapid descent;
• Always ensure the patient's back is supported to prevent forward tilting.
2. Electric Lifting System
The electric Patient Lift Transfer Chair is equipped with an electric push-rod system controlled by buttons.
The raising and lowering process is smoother, suitable for heavier users or caregivers with limited physical strength.
Operating Points:
• Ensure the power connection is normal;
• Inform the patient that "you are about to rise or fall" before pressing the buttons;
• Avoid continuous raising and lowering for extended periods to prevent motor overheating.
In what situations can the Patient Lift Transfer Chair be used? How does the operation differ?
1. From Bed to Wheelchair or Sofa
After adjusting the height of the Patient Lift Transfer Chair to be level with the target, use the seat separation function to complete the transfer.
Ensure both ends are at the same height to effectively prevent slippage.
2. From Bed to Toilet
Some Patient Lift Transfer Chairs have a toilet opening, allowing direct movement to the toilet area.
Use a non-slip mat and ensure the floor is dry to prevent slipping.
3. From Bed to Bathroom
Waterproof mats or shower-type Patient Lift Transfer Chairs can be used.
Caregivers should test the waterproof motor or sealing devices beforehand to ensure safety.
4. From Bed to Examination Bed or Ward Corridor
In hospitals or nursing homes, Patient Lift Transfer Chairs are often used for transferring patients between beds and trolleys.
This should be done by two caregivers: one to control the direction and the other to stabilize the patient.
What are the most common mistakes beginners make when using a Patient Lift Transfer Chair?
• Operating without locking the brakes – This can easily cause the chair to slip.
• Patient not wearing a seatbelt – This poses a risk of falling during lifting, lowering, or moving.
• Incorrect height alignment – This results in excessive transfer angles and makes operation difficult.
• Excessive descent speed – This can easily cause dizziness or a feeling of falling in the patient.
• Ignoring the patient's feelings – Failure to communicate beforehand can easily lead to tension and poor cooperation.
To avoid these problems, it is recommended that beginners read the product manual and conduct a no-load drill before first use to familiarize themselves with the lifting operation and the location of the safety locks, and then practice under the guidance of nursing staff.
How to maintain the Patient Lift Transfer Chair and extend its lifespan?
1. Regularly inspect the mechanical structure
• Inspect screws, welds, and support rods at least once a week to prevent loosening or deformation.
2. Cleaning and disinfection
• Wipe the surface with a mild, neutral detergent; avoid using strong acid or alkaline liquids.
• If used between different patients, wipe with alcohol or 84 disinfectant after each transfer.
3. Electric System Maintenance
• Electric models require regular charging to avoid over-discharging the battery;
• Do not charge in humid environments;
• Check cables for aging or damage.
4. Wheel Set Maintenance
• Lubricate the bearings regularly;
• Replace wheels promptly if they become stiff.
5. Storage Requirements
• Store in a dry, well-ventilated place when not in use;
• Avoid direct sunlight or prolonged exposure to moisture to prevent metal parts from rusting.
What are the differences in operation between a Patient Lift Transfer Chair and a regular wheelchair?
Comparison Items | Patient Lift Transfer Chair | Standard Manual Wheelchair |
Purpose of Operation | Transfer and lifting | For mobility |
| Operator | Caregivers | For patients or caregivers |
Safety Devices | Lifting latch, safety belt, non-slip seat | With brakes and armrests |
| Transfer Method | Hydraulic or electric lifting | Purely manually propelled |
| Structural Stability | High, anti-tipping | Generally suitable |
| Target Audience | For fully or partially bedridden patients | For those who can sit up or have strong upper limbs |
As can be seen, the Patient Lift Transfer Chair emphasizes safety control and care assistance, while a regular wheelchair focuses more on independent movement.
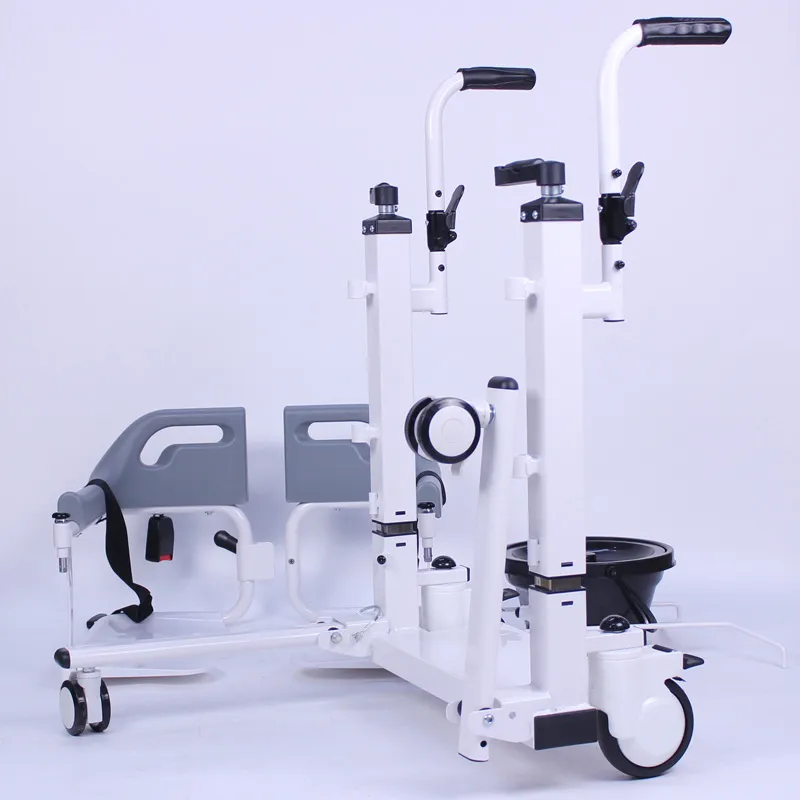
Safety Details for Operating the Patient Lift Transfer Chair
1. Always lock the brake before transferring;
2. Ensure the patient is centered and stable before raising or lowering;
3. Communicate clearly beforehand to avoid sudden patient movements;
4. Raise or lower slowly, do not operate continuously;
5. Be aware of ground obstacles and changes in slope when pushing;
6. Slow down when turning or stopping to ensure a smooth ride.
Can Dayang Medical supply to hospitals and clinics?
Yes, Dayang Medical is a trusted supplier for hospitals, rehabilitation centers, and clinics worldwide. Our factory in China produces a full range of electric wheelchairs, patient beds, commodes, shower chairs, and walking aids, all certified under FDA, CE, and ISO standards. Healthcare organizations can buy in bulk at wholesale prices and enjoy special factory promotions. Many medical institutions rely on our company because we deliver safe, durable, and affordable solutions for patient care.


